
Avoid These 7 Deck Staining Errors for a Perfect Finish (Find the Right Timing)
Staining your deck can completely transform its look, making it look fresh and well-maintained, but choosing the right time to do it is crucial. I’ve seen too many people make the mistake of rushing in without considering the weather, and it often leads to a finish that doesn’t last. You don’t want your effort to go to waste because the stain didn’t bond properly or dried too fast. The best time to stain your deck is more than just about picking a dry day — it’s about understanding the temperature, humidity, and the season.
In this guide, I’m going to walk you through the top seven mistakes to avoid when staining your deck, plus the best time to do it. Whether you’re a seasoned DIYer or just getting started, these tips will help you achieve a professional-looking finish. After all, your deck deserves more than just a quick coat — it needs the right conditions to shine. Let’s dive into how to make sure your staining project goes off without a hitch.
When is the Best Time to Stain a Deck?
Staining your deck is an exciting way to refresh its look, but timing is everything. If you don’t stain at the right moment, you could face uneven coverage, poor adhesion, or a finish that just doesn’t last. The best time to stain a deck is when the weather is just right—too hot or too cold, and things go sideways. So, let’s break down the ideal conditions.
Ideal Weather Conditions
- Temperatures Between 50-90°F (10-32°C): This range is perfect because the wood will absorb the stain evenly without drying too quickly or staying too wet. If it’s too hot (above 90°F), the stain may dry before it can fully bond to the wood, leaving streaks and blotches. On the flip side, if it’s too cold (below 50°F), the stain may not penetrate properly, leading to uneven coverage.
- Humidity Levels Matter: Humidity plays a big role in how your deck stain dries. Ideally, you want a day with moderate humidity—too high, and the stain may not dry fast enough, leading to smudges or streaks. Too low, and the stain could dry too quickly, creating a patchy finish. A humidity level between 40-70% is perfect.
- Dry Weather is Crucial: Before you start staining, make sure there hasn’t been rain for at least 24-48 hours, and no rain is expected during your project. Wet wood doesn’t absorb the stain properly, and you could end up with a mess.
It’s important to check the weather forecast before committing to a day of staining. A quick shower or sudden drop in temperature can ruin your project, so plan ahead!
Here’s a helpful guide from BHG that dives deeper into the best weather conditions for staining your deck.
Mistake 1 – Staining in Direct Sunlight
You’ve probably heard that a sunny day is perfect for outdoor projects, but when it comes to staining your deck, that bright sunlight can cause big problems. Staining in direct sunlight might seem like a good idea, but it can ruin your results. Let’s break down why it’s a mistake and what you can do instead.
Why Direct Sunlight is a Problem
- Stain Dries Too Quickly: Direct sunlight causes the stain to dry faster than it should. When the stain dries too quickly, it doesn’t have time to properly soak into the wood, which leads to an uneven finish. You might end up with streaks or blotchy areas that are hard to fix.
- Uneven Absorption: Because the sun speeds up the drying process, the stain doesn’t get absorbed uniformly by the wood. This can cause darker and lighter patches, especially on porous or textured surfaces.
When is the Best Time of Day to Stain?
The key is to avoid the heat of midday and the scorching sun. Here’s when you should consider staining:
- Early Morning: Start staining right after sunrise when the temperature is cooler, and the sun’s rays aren’t as intense. The wood will stay moist longer, allowing the stain to penetrate properly. Plus, the humidity is typically higher in the morning, which helps the drying process.
- Late Afternoon: Staining just before sunset is another great option. The sun isn’t at its peak, and the temperature starts to drop, which gives the stain more time to work its magic without drying too fast.
Avoid the noon to mid-afternoon hours when the sun is the hottest. This period is when you’re most likely to face drying issues that lead to an uneven finish.
By staining in the early morning or late afternoon, you’ll ensure your deck gets the proper treatment it deserves. You’ll also avoid common mistakes that lead to a less-than-perfect result.
Mistake 2 – Staining When the Deck is Too Wet
It can be tempting to get started on your staining project as soon as you feel ready, but if your deck is too wet, it can cause major problems. Many people overlook this crucial step and jump in after a morning dew or light rain, only to end up with poor results. Let’s explore why moisture matters and how to avoid this mistake.
Why Wet Wood is a Problem for Staining
- Poor Adhesion: When the deck is still wet, either from rain or dew, the stain won’t bond properly to the wood. The moisture forces the stain to sit on the surface instead of soaking into the fibers, which leads to an uneven, patchy finish.
- Streaking and Blotching: Excess moisture can cause the stain to dry too quickly in some areas, while other areas may remain too wet. This can lead to visible streaks or blotches that won’t fade with time.
Tips for Ensuring the Deck is Dry
- Wait 24–48 Hours After Rain: After a heavy rain or morning dew, give your deck time to dry out completely. The general rule of thumb is to wait at least 24–48 hours before staining, especially if you notice wet spots or dampness in the wood.
- Check the Weather Forecast: Avoid staining if there’s a chance of rain in the next couple of days. You want the deck to stay dry after staining so the finish doesn’t get ruined.
- Test the Wood: You can test if your deck is dry enough by sprinkling a few drops of water on it. If the water beads up, the wood is still too wet to stain. If the water soaks in, the deck is ready for staining.
Taking the time to ensure your deck is dry might seem like an extra step, but it’s essential for a smooth, long-lasting finish. A little patience now saves you from headaches later.
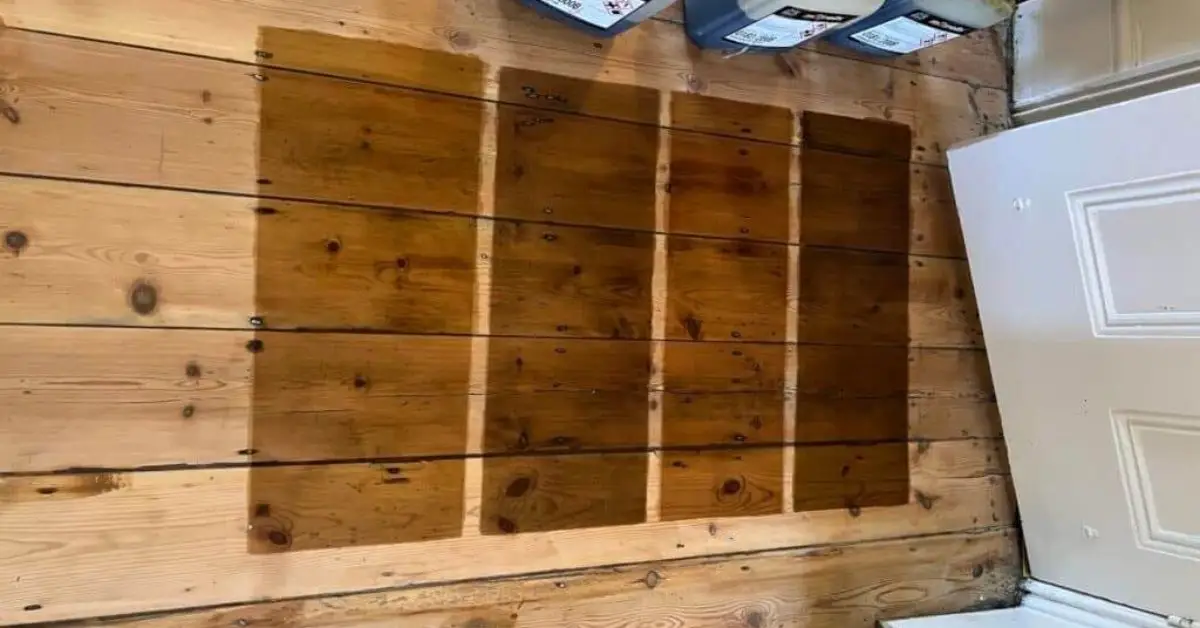
Mistake 3 – Choosing the Wrong Stain Type
Picking the right stain is crucial for achieving the perfect finish on your deck. But with so many options out there, it’s easy to get confused and choose the wrong one. Let’s break down the different types of stains and how to pick the best one for your wood type and desired finish.
Different Types of Stains
- Solid Stain: This type of stain acts more like paint and provides full coverage. It’s ideal if you want to completely hide the wood grain and have a uniform, opaque finish. However, solid stains can peel over time, so they may need more maintenance than others.
- Semi-Transparent Stain: This stain allows some of the wood’s natural grain and texture to show through, while still providing a protective layer. It’s a great option if you want a balance between a natural look and color protection.
- Oil-Based Stain: Known for its durability and deep penetration, oil-based stains provide rich color and long-lasting protection. They are great for weathered decks, but they take longer to dry and require more cleanup.
- Water-Based Stain: These stains dry faster and clean up easily with soap and water, but they don’t penetrate the wood as deeply as oil-based stains. They’re a good option for a quick project, but may not be as durable in harsh weather conditions.
How to Choose the Right Stain
- Consider the Wood Type: Hardwoods like oak or mahogany tend to absorb stains differently than softwoods like pine. Hardwoods may need a stain with a heavier coating, while softwoods often do better with a more penetrating, lighter stain.
- Desired Finish: Do you want a natural, wood-grain look? Go for a semi-transparent stain. Want to completely hide imperfections? A solid stain will work better.
- Climate Considerations: If you live in a region with harsh winters or intense sun, consider a more durable, oil-based stain for extra protection.
Choosing the right stain type can make a huge difference in how your deck looks and how long it lasts. So, take the time to research and pick the stain that best suits your deck’s needs.
Check out this helpful guide on staining temperatures from Mr. Handyman for further insights on selecting the best stain for your deck.
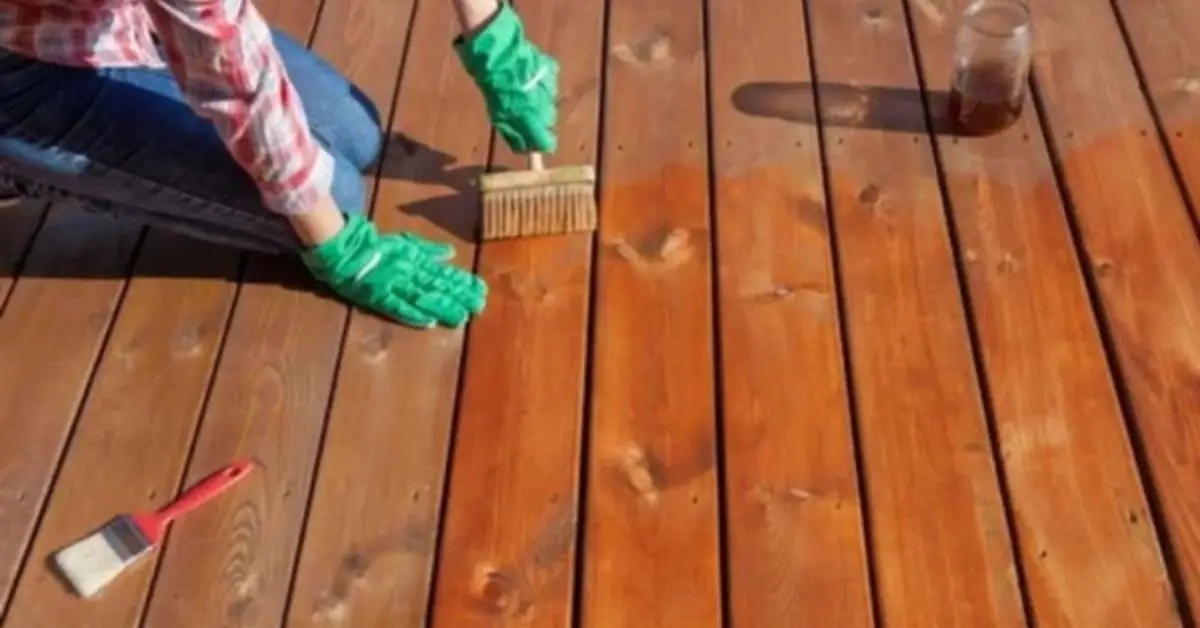
Mistake 4 – Not Preparing the Deck Properly
One of the most common mistakes people make when staining their deck is skipping the preparation stage. If you don’t properly prepare your deck, all your hard work with staining could be wasted. Without proper cleaning and sanding, the stain won’t adhere properly, and you could end up with blotchy spots, peeling, or discoloration over time. So, let’s talk about how to prepare your deck the right way.
Power Washing and Sanding: The Essentials
- Power Washing: The first step to preparing your deck is cleaning it. You need to remove dirt, mildew, and any old stain that might still be clinging to the wood. Power washing is one of the most effective ways to clean your deck thoroughly. Just be careful not to get too close to the wood, as high pressure can damage the surface.
- Sanding: Once your deck is dry after power washing, the next step is sanding. Sanding helps to smooth out rough spots, remove any remnants of old stain, and give the wood a fresh surface for the new stain to bond to. It’s important to sand the deck before staining, as it helps to create an even finish and prevents peeling in the future.
Before staining, it’s essential to make sure your deck is fully prepped, which may include addressing any rotted wood. If you’re dealing with damaged wood, check out these 7 simple ways to fix rotted wood to ensure a solid foundation before starting your staining project.
Why Prepping Is So Important
Without cleaning and sanding, the stain will not absorb evenly, and your deck will look patchy or streaky. This prep work also ensures the stain lasts longer and wears more evenly over time. It might feel like a tedious step, but it’s the key to achieving a professional-looking finish that will stand up to the elements.
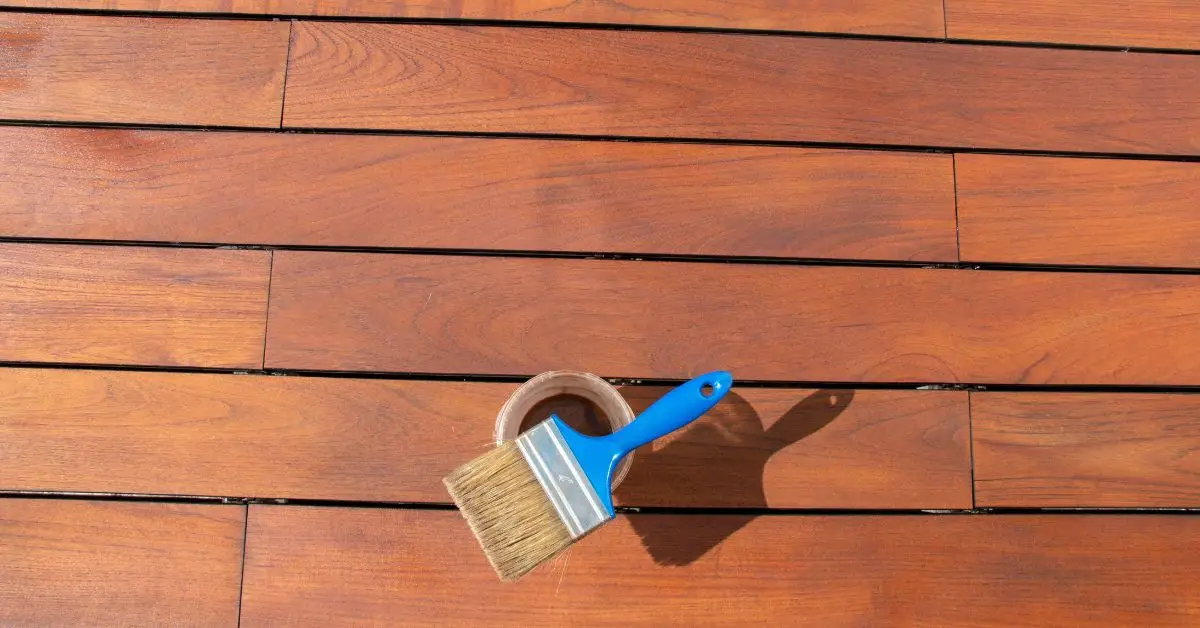
Mistake 5 – Applying Stain Too Thickly
Applying too much stain at once can be tempting, especially when you want to cover your deck quickly. However, slathering on thick layers of stain often leads to uneven coloring and streaks. Let’s break down why this happens and how to avoid it.
Why Too Much Stain is a Problem
- Streaks and Uneven Coloring: When you apply too much stain, it can’t absorb evenly into the wood. The excess stain sits on the surface, causing visible streaks and dark spots that are hard to fix. You might end up with a finish that looks more like a paint job than a natural wood stain.
- Peeling Over Time: Thick layers of stain are also more likely to peel as they dry, which can cause your deck to look worn much sooner than it should.
How to Apply Stain Correctly
- Multiple Thin Coats: Instead of trying to cover everything in one thick layer, apply multiple thin coats. This allows the stain to soak in evenly and dry properly without pooling or streaking. Thin coats also give you better control over the finish and can be more forgiving if you need to touch up certain areas.
- Use a Brush or Sprayer: Whether you use a brush or a sprayer, be sure to spread the stain evenly across the surface. Work in manageable sections and avoid going over the same area too many times.
By applying thin coats and giving each one time to dry before applying the next, you’ll get a smooth, even finish that lasts much longer.
Mistake 6 – Not Allowing Enough Drying Time
It’s easy to get impatient and rush the drying process, but skipping this step can ruin your results. Rushing drying times between coats or after the final coat can lead to smudges, streaks, or areas where the stain didn’t fully cure.
Why Drying Time Matters
- Smudging and Streaking: If the previous coat hasn’t dried enough before applying another layer of stain, you risk smudging or leaving visible streaks. Even worse, if the stain hasn’t dried properly, it could start to peel or wear unevenly.
- Curing Issues: Staining is a multi-step process, and each coat needs time to cure before the next one is applied. Without proper drying time, you won’t get that perfect finish that protects the wood and looks great.
How Much Drying Time Do You Need?
- Between Coats: Give at least 2-4 hours of drying time between coats. In humid conditions, you might need to wait longer. Always check that the surface is dry to the touch before applying the next coat.
- After the Final Coat: Once you’ve finished staining, allow 24-48 hours for the deck to fully dry and cure before walking on it or putting any furniture back.
Drying time is not a step you want to skip—it’s essential for ensuring the finish lasts.
Mistake 7 – Staining Without Considering the Climate
Weather conditions can have a huge impact on the results of your staining project. The humidity, temperature, and even wind speed can influence how well the stain adheres, how fast it dries, and how long it lasts. Here’s why you need to be aware of the climate before staining.
How Climate Affects Your Staining Project
- Humidity: High humidity slows down the drying process, while very low humidity can cause the stain to dry too quickly, leading to an uneven finish.
- Temperature: As we discussed earlier, extreme temperatures—either too hot or too cold—can cause the stain to dry too quickly or not absorb properly into the wood.
- Wind: Wind can blow dirt, leaves, or dust onto your freshly stained deck, ruining your hard work. It’s best to avoid staining on windy days.
The climate can be a major factor in how your deck staining turns out, so always be sure the structure is sturdy. If you’re concerned about the overall deck strength, here’s how to build safer deck stairs for strength and durability.
Checking the Weather Forecast
Before starting your staining project, always check the weather forecast. You want to make sure there’s no rain expected for at least 48 hours after you finish staining. Aim for a dry day with moderate temperatures and low humidity.
The Best Time to Stain a Deck: Seasonal Recommendations
Now that we’ve covered the common mistakes and how to avoid them, let’s talk about the best seasons for staining your deck. Timing is everything, and certain times of the year offer optimal conditions that will ensure your deck gets the attention it deserves.
Why Spring and Fall are Ideal for Staining
- Mild Temperatures: Spring and Fall typically offer moderate temperatures between 50-90°F (10-32°C), which is perfect for applying stain. These temperatures allow the stain to dry slowly and evenly, giving it time to bond to the wood without drying too fast or too slow.
- Reduced Humidity: Both Spring and Fall generally have lower humidity levels, which helps the stain to set properly without being too damp or too dry. In Summer, high humidity can cause the stain to take too long to dry, while Winter can be too cold for proper curing.
- Less Rain: These seasons usually experience less rainfall compared to Summer, which gives you the advantage of having a drier deck. You need at least 48 hours of dry weather after applying the stain to ensure it cures properly.
The right season makes all the difference in ensuring your deck gets the best care, and that includes any potential upgrades. For inspiration, check out these 5 outdoor deck renovation ideas that will instantly refresh your deck before staining.
Pro Tips for Staining During the Right Season
- Look for a Dry Window: Aim to stain your deck during a dry period. The deck needs to be completely dry before staining, and you want at least 48 hours of clear weather after staining. If rain is in the forecast, it’s best to hold off on your project until you get a better window.
- Avoid Peak Summer: While Summer may seem like the obvious choice, it’s often too hot for proper staining. High temperatures cause the stain to dry too quickly, leading to an uneven finish.
By planning your deck staining during the Spring or Fall, you’ll have a much smoother and more durable finish. The right timing makes all the difference in achieving that beautiful, long-lasting look.
Conclusion and Final Tips for Staining Your Deck
So, what have we learned? Staining your deck can transform its look, but it’s not just about choosing any stain and slapping it on. To get the best results, you need to be mindful of the best weather conditions, avoid common mistakes, and take the time to prep your deck properly. Here’s a quick recap of what you should avoid:
- Don’t stain in direct sunlight—it can cause the stain to dry too quickly and lead to uneven coloring.
- Don’t stain when the deck is wet—moisture from rain or dew can prevent the stain from bonding properly.
- Don’t rush the drying time—let each coat dry fully before applying the next one.
- Don’t choose the wrong stain type—make sure to pick one that suits your deck’s wood and desired finish.
Final Tips:
- Consider Professional Help: If you’re dealing with a large deck or tough conditions, consider hiring a professional. They have the tools and expertise to get the job done right.
- Be Patient: The process takes time, but it’s worth it for the long-lasting, beautiful finish you’ll get.
If you’re planning your next deck project, I’d love to hear your thoughts. Have you stained your deck before? What challenges did you face? Let me know in the comments below!
Also, if you need expert advice or want to get started on your own home improvement project, visit Build Like New for more tips and guides. Let’s make your deck look as good as new!
Disclaimer: The information provided in this article is for general guidance only. Always follow the manufacturer’s instructions for staining and consider consulting a professional for larger or more complex projects. Weather conditions can vary, so it’s important to check the forecast before starting any outdoor work.