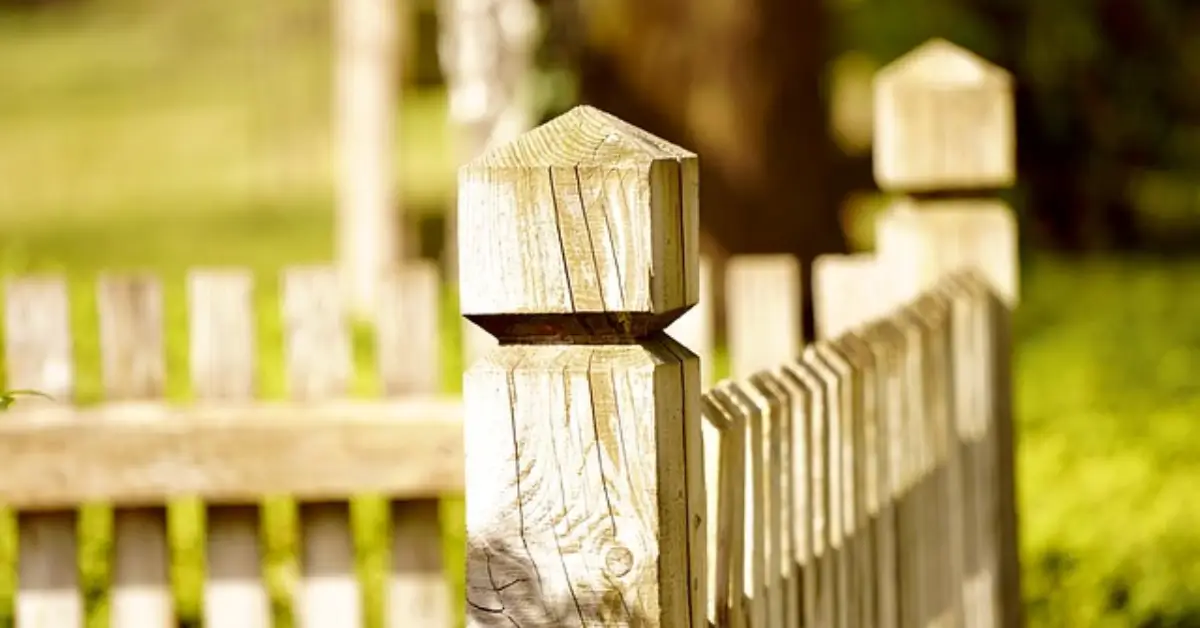
Thinking of Painting a Shared Fence? 7 Homeowner Facts You Should Know First
Every neighborhood has that one fence that quietly divides two backyards — until the day someone decides it needs a fresh coat of paint. I’ve seen this moment turn from a friendly weekend plan into a months-long argument over “who owns which side.” Maybe you’ve been there too — standing with a paintbrush in hand, wondering if it’s okay to just go ahead and paint your side.
Here’s the tricky part: fences may look simple, but they sit at the intersection of property law, etiquette, and good old-fashioned neighborly respect. Paint the wrong panel, and you could find yourself in a dispute that costs far more than a few gallons of paint.
I’ve worked with enough homeowners to know this: most conflicts start with good intentions and missing information. That’s why before you open that paint can, it’s worth knowing exactly what the rules, risks, and respectful steps are. Because sometimes, a little communication — and a few legal basics — can save a lot of backyard drama.
So let’s get into the 7 things you really need to know before painting a shared fence — and how to do it without regret later.
1: Who Really Owns That Fence? (Ownership Rules)
Before you even think about painting, you need to be absolutely sure who actually owns that fence. I’ve seen too many good neighbors fall out because they thought they were within their rights — only to learn the hard way that the fence wasn’t theirs to touch.
Survey, Title Deed & Boundary Plans — How to Check
Start by digging into the basics. Every property line has a story, and your fence is part of it.
Here’s what you should do:
- Pull your property survey – It’s the clearest proof of where your boundary lies. If the fence sits entirely inside your line, it’s yours.
- Check the title deed or property plan – Many local clerks’ offices can provide a copy. Look for notes about shared boundaries or joint ownership.
- Talk to your local zoning or building department – They can confirm if the fence is on a boundary easement or belongs entirely to one party.
If you’re renting, don’t assume anything — the landlord might have separate agreements with adjoining owners that limit what you can change.
HOA, Local Laws, Easement Clauses — Hidden Constraints
Even if you own the fence, you’re not fully in the clear yet. If your neighborhood falls under a Homeowners Association (HOA) or has local property bylaws, there may be specific paint color codes, maintenance requirements, or design restrictions.
- HOA guidelines often demand neutral tones or uniform finishes for street-facing fences.
- Local councils or counties sometimes classify fences as shared structures, even if they’re within one property’s line.
- Easement agreements (for drainage or utilities) can override ownership — you might technically own the fence but still can’t modify it without notice.
According to Better Homes & Gardens, even a simple repaint can breach HOA color rules and end up costing homeowners hundreds to fix. It’s a reminder that a quick weekend project can turn expensive if you skip the paperwork.
Before you decide on color or materials, it helps to understand the broader etiquette behind shared fences — from privacy expectations to boundary behavior. You can explore this further in our detailed guide, The Ultimate Guide to Fence Etiquette: 7 Key Rules Every Homeowner Should Know.
Shared / Boundary Fence Presumption vs. “On Your Yard” Fences
If the fence sits directly on the boundary line, it’s legally presumed to be shared property — both neighbors share ownership and maintenance duties unless proven otherwise.
If it’s set back fully inside your property, then it’s yours to modify, repair, or paint.
Quick test:
- If the posts face your yard, it’s likely your fence.
- If they face your neighbor’s side, it’s likely theirs.
But remember, this isn’t a guarantee — it’s just a clue. Always verify with documentation.
2: Legal Risks & Damage Exposure if You Paint Without Consent
So you’ve confirmed it’s a shared fence — or maybe you’re still unsure. Before you grab that paintbrush, let’s be clear: painting without your neighbor’s consent can land you in real trouble.
Trespass, Property Damage, Lien, Forced Repaint, Fines
If you alter a shared fence without written permission, here’s what could happen:
- Trespass claims: Even a brushstroke over the property line can count as unlawful entry.
- Property damage accusations: If your paint bleeds through or drips onto their side, you’re liable for restoration.
- Forced repaint orders: Some local councils and HOAs can legally require you to restore the original finish.
- Civil fines or liens: In worst cases, your neighbor can take you to small claims court and recover costs — plus legal fees.
Many homeowners underestimate how quickly a small issue can escalate when documentation isn’t in place.
Material-Specific Risk (Wood, Metal, Vinyl) — Moisture, Warping, Finish Problems
Even if you have full ownership, the type of fence material determines how safe painting really is:
- Wood fences absorb moisture; painting only one side can cause uneven drying and warping.
- Metal fences need rust-resistant primers; skipping them shortens lifespan.
- Vinyl fences often come pre-treated — paint doesn’t adhere well, leading to peeling and fading.
If only one side gets sealed and the other doesn’t, you’ll trap moisture inside the slats, which can cause rot from within. The fix? A full repaint — double the cost, double the work.
So before painting, check your ownership, legal rights, and material compatibility. Sometimes, doing less is the smartest way to avoid regret.
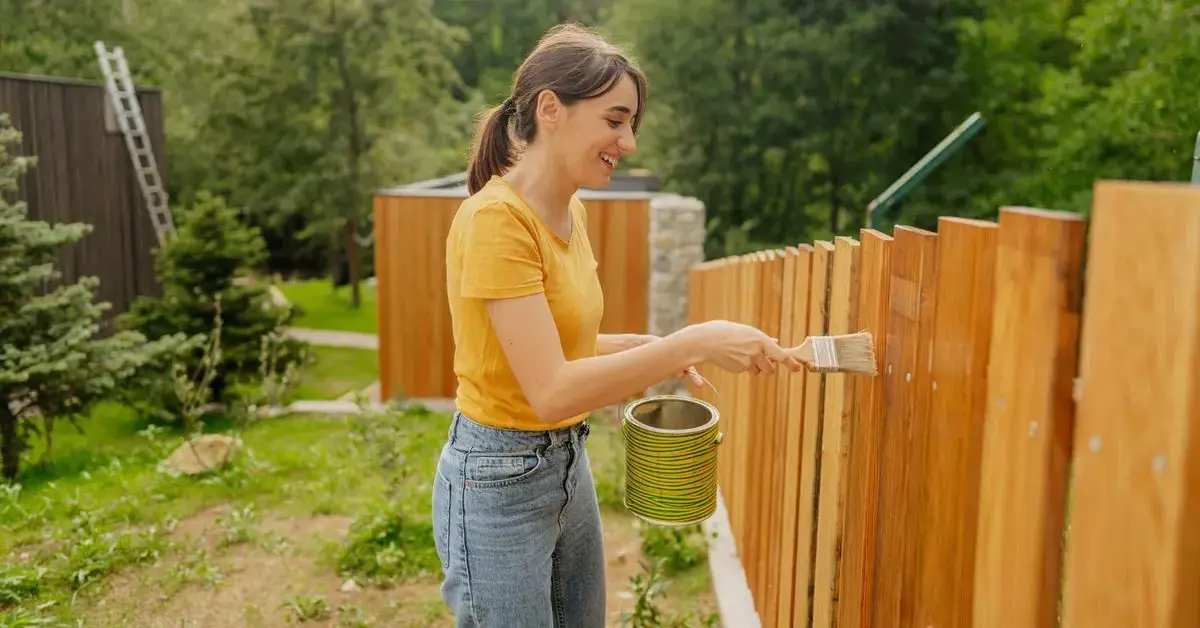
3: How to Propose the Project to Your Neighbor (Soft Approach)
Here’s the truth — painting a shared fence isn’t just about color; it’s about communication. You might have the best intentions, but how you bring it up makes all the difference between a smooth “Sure, go ahead!” and months of awkward silence next door.
Tone, Timing & Conversation Starters
Start with respect, not assumption. Pick a calm moment — not when they’re rushing to work or entertaining guests. Mention it casually first, then follow up with a short chat once they’re open.
You can say something like:
“Hey, I’m planning to freshen up our fence soon. Before I do anything, I wanted to check if you’re okay with the idea — maybe we can coordinate colors or timing?”
Keep your tone curious, not defensive. The goal isn’t permission out of fear, but collaboration out of respect. When people feel included, they’re more likely to say yes — and stay friendly later if something goes wrong.
What to Offer (Cost, Shared Schedule, Color Options)
If you want your neighbor’s cooperation, make it worth their while. Offering a small compromise upfront shows goodwill and responsibility:
- Cost sharing: Offer to split paint and material costs, even 60/40 if you’re initiating the project.
- Scheduling: Paint on a day that works for both of you, especially if one side borders their garden or driveway.
- Color selection: Suggest a few neutral tones and let them have input. People are more agreeable when they feel control over the outcome.
A homeowner featured on East Coast Fencing mentioned how simply offering color options turned a tense dispute into a joint weekend project — proof that respect goes further than rules.
Sample Agreement Clauses You Should Document
Once you’ve agreed verbally, document it in writing. Nothing complicated — just a friendly record signed by both of you.
You can include:
- Paint color & finish: e.g., “Both sides will be painted in agreed neutral tone.”
- Maintenance terms: “Repainting will occur every 5–7 years or as needed, with both parties informed.”
- Cost-sharing clause: “Expenses will be divided equally, with receipts provided.”
- Reversion rights: “Either party may request color restoration at shared expense if consensus is lost.”
A simple one-page note, dated and signed, can save you future headaches if ownership or neighbors change.
4: Which Side(s) Should You Paint & Why It Matters
Painting only your side might feel safe, but it’s rarely that simple. Fences breathe — and how you treat one side affects the other.
One Side vs. Both Sides — Pros/Cons (Warping, Uniform Look)
Let’s break it down clearly:
| Option | Pros | Cons |
|---|---|---|
| Paint only your side | Fast, private decision | Moisture imbalance → warping or mold over time |
| Paint both sides (with consent) | Uniform look, long lifespan | Higher cost + coordination needed |
| Seal one side, stain other | Balanced protection | Requires material testing, more prep work |
If you only paint one side of a wooden fence, the unsealed side absorbs moisture unevenly — leading to twisting, splitting, and decay. A half-painted fence might look good today, but next season, you could be staring at curling boards.
Decision Tree (If You Only Paint Your Side)
Think of it as a quick checklist before painting:
If shared: → Ask → Agree → Seal both sides.
If yours only: → Paint both faces anyway (for balance).
If metal/vinyl: → Paint your side only (safe).
In short, your goal is to protect structure, not just appearance. Even a small imbalance can undo your hard work.
Edge Cases (Fences with Lattice, Double Panels)
- Lattice tops: Paint both sides lightly to avoid clogging openings.
- Double-panel fences: Treat each side independently — often one owner per panel.
- Decorative fences: Always confirm which side faces public view — it may fall under HOA aesthetic rules.
When unsure, always seal both sides for longevity. You’ll spend more upfront but save on repairs later.
5: Cost, Materials & Maintenance Plans
A lot of people underestimate how much time and money fence painting really takes. I’ve done it myself — what looked like a $50 weekend project turned into $300 worth of primer, brushes, and stain. Planning ahead saves both frustration and arguments.
Estimating Cost & Materials (Paint Type, Primer, Brush vs. Sprayer)
Before you start, list everything. On average:
- Exterior paint/stain: $30–$60 per gallon
- Primer (for raw wood): $20–$40 per gallon
- Brushes and rollers: $15–$25
- Sprayer rental (optional): $40–$80/day
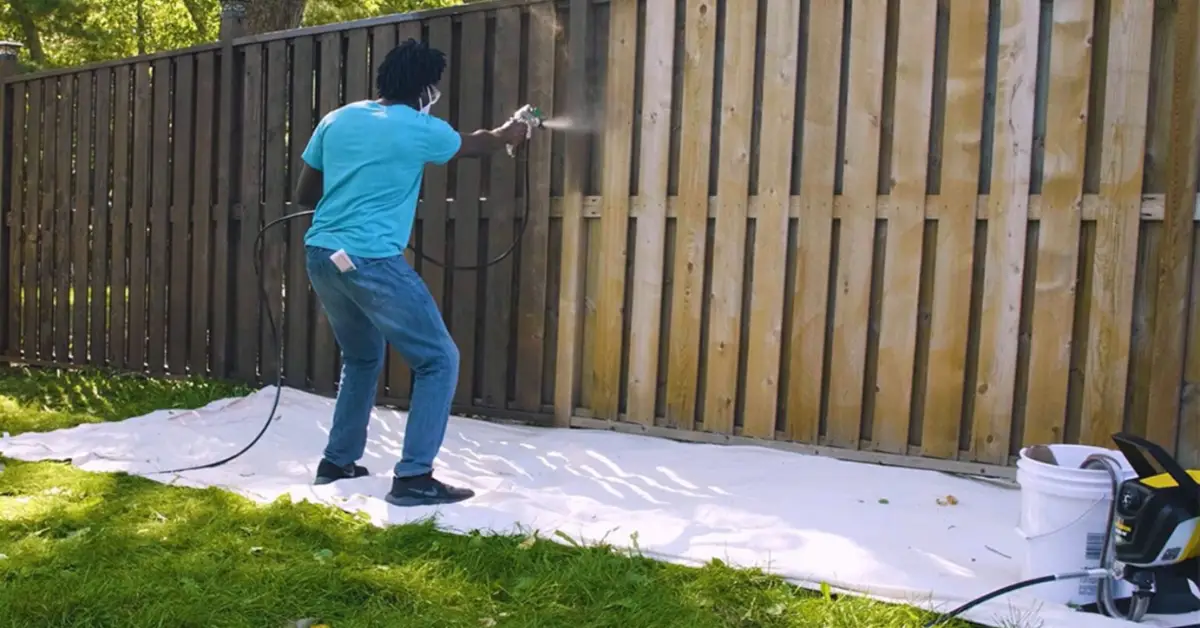
Always choose weatherproof, UV-resistant paints made for exterior fencing. Use stain if you want a natural look, paint if you prefer bold coverage. Sprayers speed things up but can overspray onto your neighbor’s yard — another reason to coordinate first.
Maintenance Schedule & Paint Refresh Frequency
Paint doesn’t last forever, especially in humid or coastal climates. A good rule of thumb:
- Wood fences: Repaint every 5–7 years
- Metal fences: Touch up rust spots annually
- Vinyl fences: Clean twice a year with mild detergent; repaint only if finish fades
Make a small calendar note for future touch-ups — it’s easier to maintain than redo.
What Happens When Paint Ages/Chips — Repair Approach
When paint starts peeling or cracking:
- Lightly sand the damaged area to remove loose flakes.
- Prime exposed wood to reseal pores.
- Apply two new coats of paint or stain evenly.
- Inspect for moisture leaks or soil contact — that’s where most paint fails first.
A little preventive care each season beats a complete redo every few years. And when you involve your neighbor early on, you’ll both save time, cost, and tension in the long run.
6: What If Neighbor Says No / Dispute Escalation Options

Sometimes, even the friendliest conversations hit a wall. You might have explained everything clearly, offered to split costs, and shown samples — yet your neighbor still refuses. Don’t panic. You still have options that keep things civil and legally safe.
Mediation, Local Small Claims Court, Fence Viewer (if exists)
When communication breaks down, mediation is your first peaceful step. Most local councils or housing authorities offer free or low-cost mediation programs where both sides sit down with a neutral third party. It’s less formal than court but helps settle disagreements quickly.
If that doesn’t work, small claims court can resolve fence disputes under property damage or nuisance laws. Keep in mind, though, courts prefer written proof of your efforts to cooperate — texts, letters, or signed notes go a long way.
In some states, especially in the U.S. and Canada, there’s something called a fence viewer — an official appointed to resolve boundary and maintenance issues. According to Wikipedia, fence viewers can inspect, document, and make legally binding recommendations about shared fences.
They’re a great resource if both parties are at a standoff and you want a decision without a costly lawsuit.
Written Demand, Photographic Evidence, Restoration Requests
If your neighbor has already made changes without your consent — or is preventing you from maintaining your side — document everything.
- Write a polite demand letter stating the facts, ownership, and your intent to resolve peacefully.
- Take photos showing the fence’s condition before and after any alteration.
- Keep all receipts or messages that show your attempts to cooperate.
- Request restoration (not compensation) first — it shows reasonableness if things go legal later.
Paper trails matter. In court, a calm tone and clear records often win over heated emotions. If your situation escalates and your neighbor takes action without consulting you, it’s smart to know your options. Our article on What to Do If Your Neighbor Builds a Fence Without Asking: 7 Steps to Take walks you through how to respond calmly and legally.
Alternative Routes: New Fence Inside Your Land, Hedges, Screens
If your neighbor refuses every option, you still have the right to create separation — just not on the shared line.
Here are a few alternatives:
- Install a new fence fully within your property line — just a few inches inside avoids future disputes.
- Add hedges or tall plants for privacy and visual appeal.
- Use decorative screens or panels that don’t touch the shared fence but still upgrade your view.
These options cost more upfront but give you freedom without legal risk. And often, once your neighbor sees you’ve moved on respectfully, tensions cool naturally.
7: Before You Start Painting — Final Checklist & Best Practices
By this stage, you’ve done your homework — ownership confirmed, neighbor consulted, materials ready. But before that first brushstroke, double-check these final essentials.
Permits, Local Regulation Check, Documentation
Depending on your city or homeowners’ association, you might need a minor exterior work permit — especially for street-facing fences. Always call your local building office to confirm. It’s a five-minute call that can save you fines later.
Keep a simple folder with:
- Property survey and fence ownership proof
- Neighbor agreement (if shared)
- HOA or local approval letters
- Paint brand, color, and finish notes
Documentation may sound tedious, but it’s your best protection if disputes pop up years later.
Protect Neighbor’s Property (Masking, Drop Cloths, Notify Them)
Wellington Fence Company
Paint travels farther than you think — especially in wind. Before starting:
- Use plastic drop cloths or boards to shield your neighbor’s side.
- Paint on low-wind days and keep a 3–4 foot buffer zone from their items.
- Let them know your painting schedule — it’s simple courtesy, but it prevents “You splattered my patio!” arguments.
Even when everything’s legal, thoughtfulness keeps the peace.
Photo Record + Written Agreement Execution (With Witness)
When both parties agree, take a few clear photos of the fence before and after painting. It’s visual proof that:
- The work matched what was agreed upon.
- No damage occurred to the other side.
Have both neighbors sign a short completion note witnessed by a friend or relative. It’s a friendly, professional touch that closes the loop on your agreement.
By following this checklist, you’ll protect your rights, preserve your relationship, and walk away with a fence that looks great — and zero drama in the neighborhood group chat.
Action Paths Based on Your Scenario
Every fence story ends differently — and the right move depends on what stage you’re at with your neighbor. Let’s break down your next steps clearly so you know exactly where you stand before picking up that paintbrush.
Scenario A: You Already Have Verbal OK + Survey Clean → Go Ahead
If your neighbor’s on board and your property survey confirms the fence is on your side, congratulations — you’ve got the green light.
Here’s how to proceed smoothly:
- Reconfirm the color and finish in writing or a quick text thread.
- Paint on calm, dry days to avoid drips or overspray.
- Offer to show them the finished look — it’s a nice gesture that builds goodwill.
This is the easiest path, but keep the paper trail. A short note or photo record keeps everything friendly and official.
Scenario B: Neighbor Hesitant → Negotiation First
If your neighbor is unsure or uneasy, slow down and listen. Most hesitation isn’t about the paint — it’s about control or surprise.
Here’s what you can do:
- Ask why they’re hesitant — maybe they’re worried about color, damage, or cost.
- Offer practical solutions like using neutral paint or splitting the expense.
- Suggest a written plan or quick inspection together after painting.
When people feel heard, they’re more likely to agree. Negotiation keeps things human — and saves you from long-term tension next door.
Scenario C: No Consent, but You Want Improved Appearance → Use Alternatives
If you’ve hit a firm “no,” don’t push it — that rarely ends well. Instead, upgrade your side creatively:
- Install a decorative screen or trellis just inside your yard.
- Add potted plants or a vertical garden to soften the view.
- Use a standalone privacy panel that doesn’t touch the shared fence.
You’ll still get the refreshed look you wanted — without violating ownership boundaries or risking a dispute.
And if you’d rather prevent these issues altogether, check out our practical guide on 9 Ways to Avoid Fence Disputes with Neighbors Over Property Boundaries — it’s packed with tips to keep future projects peaceful.
Conclusion
At the end of the day, painting a shared fence isn’t really about paint — it’s about respect, trust, and communication. You and your neighbor share more than a fence; you share a boundary of understanding. Before you make any move, take the time to check ownership, talk openly, and plan responsibly.
A well-painted fence can brighten both backyards, but a respectful approach keeps the peace long after the paint dries.
What’s your experience with shared fences — did your project go smoothly, or did it spark a debate? Share your story in the comments below!
For more practical home improvement tips, DIY fixes, and renovation guides, visit Build Like New — where every project begins with knowledge and ends with confidence.
Disclaimer: This article is for general informational purposes only and does not constitute legal advice. Fence ownership laws and property regulations may vary by location. Always check your local ordinances or consult a qualified property attorney before making any modifications to a shared fence.